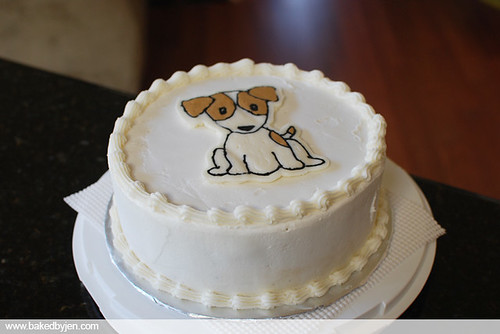
Cake4Kids held a photography class for its volunteers and I offered to make the cake for the event. I used the opportunity to practice a new technique and to use my new pastry scraper. I even piped borders for the first time!
I'm not surprised that the only other all buttercream cake I decorated was a 6-inch lemon chiffon cake I made for Mother's day. Buttercream cakes scare me more than fondant cakes! However, aftermaking this particular cake, I am a little less scared. I love how smooth the pastry scraper got my frosting. I didn't even have to revert to my go to paper towel method.
So, the new technique I got to practice was making a frozen buttercream transfer. I love how simple and clean yet fancy the cake looks because of the added touch!
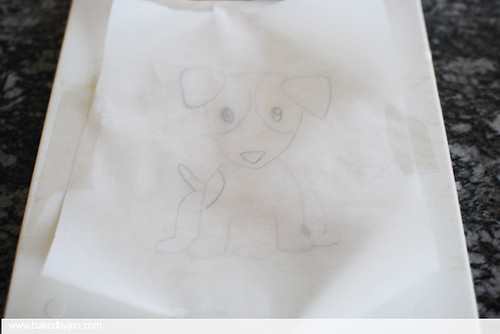
First, I traced a picture of my dog Patches that my brother created for me onto a piece of parchment paper and taped it onto my cutting board face down.
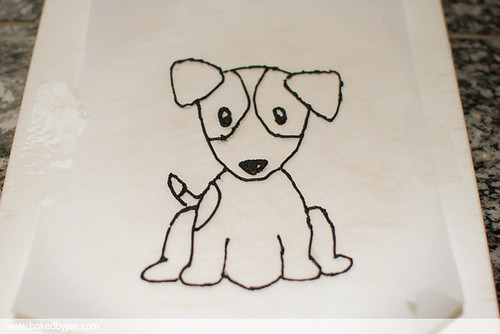
Then, I traced over the lines using the Wilton Ready To Use Icing Tube in black with a #2 tip.
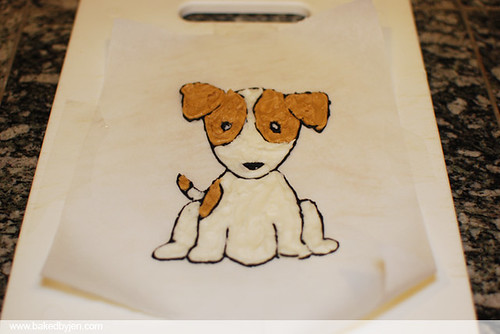
Next, I filled in the picture accordingly with my go to vanilla buttercream frosting using an angled spatula.
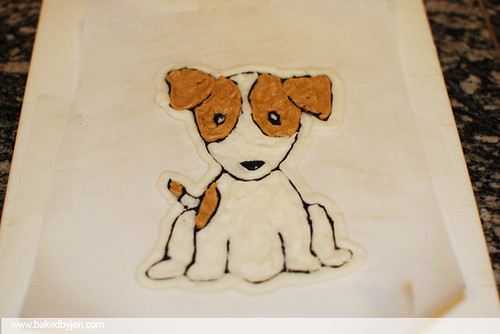
Then, I created an additional white border around the entire image to help make it pop once on the cake.
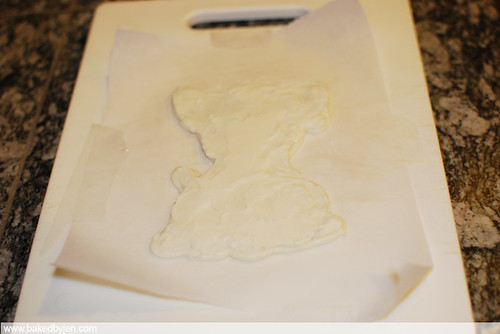
Last, I covered the entire image with frosting; pressing down slightly to remove any air pockets. I froze the image overnight and the next morning, I placed it onto the cake and the parchment paper peeled right off.
No comments:
Post a Comment